Schedule a Job with Fullcast
This article provides information and direction on scheduling and managing jobs in Fullcast. The user can run the import and export jobs manually or can schedule it at regular preferred intervals in the Job Scheduling tab. Scheduled jobs can be enabled/disabled or deleted according to the user’s choice.
Add a New Job Schedule in Fullcast
- Access your Fullcast instance and switch plans if applicable.
- Click the settings icon (gear) in the navigation bar.
- Click the Jobs Schedule tab on the Jobs page.
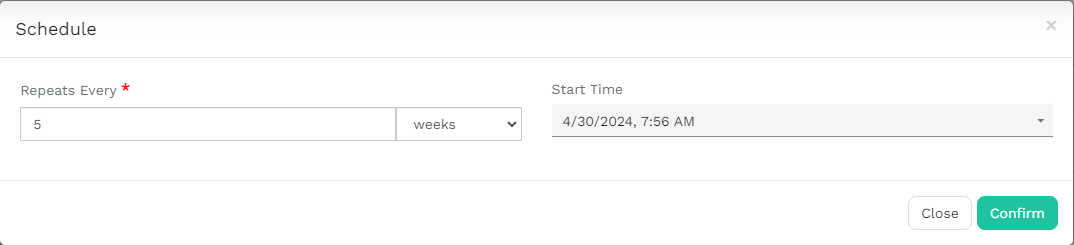
- Click the view icon (pencil and pad) and set the schedule to run as needed.
- Click Confirm.
The table gives details about the frequency of the job, last and the next runtime and also the status of the job.

Note: Newly created job schedules are disabled by default. Only one job can be scheduled at a time.
Enable/Disable a Job
- On the Job Schedule tab, click the status change icon (circular arrow) and select yes or no when prompted.

Delete a Job
To delete a job, click the delete icon (trash can) to the right of the applicable job.