Creating a New Entity in Fullcast
Once the package is installed in the customer system and connected app settings are updated, entities and fields have to be built to run the jobs. To create a new entity follow the below steps:
- Access your Fullcast instance and switch plans if applicable.
- Click the Settings icon (gear) in the navigation bar.
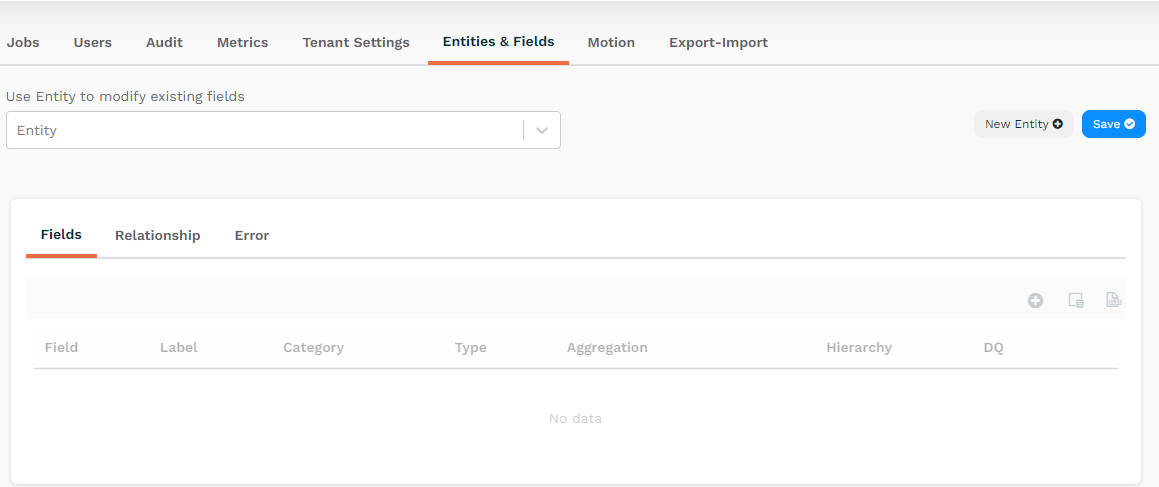
- Click the Entities and Fields tab.
- Click New Entity and provide a name for the entity.
- Choose the appropriate options for the connection type, connection name, and table name fields.
- Click Next.
- Type CONFIRM (case sensitive) and click Confirm.
- You can find your new entity in the entities dropdown menu.

- Select the new entity from the dropdown menu.
- On the Fields page, click the Add Field icon (grey plus sign) and select either New Field or New Custom Field.
- Complete the Field Update as required and click Confirm.

- The new entity appears in the list.
- Click Save.
Note
- The error tab displays the nature of errors encountered while saving the entity. Click on it to view teh details of the error.
- Any configuration change typically takes 15-20 minutes. If you do not see your changes after refreshing the page, log out and back in to Fullcast.
- After configuring the entities and fields, it is mandatory to run the import/export jobs to fetch the data.