Assignment policies - Routing Policy Navigation
This article provides information and direction on navigating routing policies. Routing policies serve to monitor incoming leads, opportunities, accounts, contacts, and cases, while also automating the assignment of these new entries to the appropriate individuals or roles.
Note: If you have installed the package now and want to configure the policy for the first time, confirm the policy parameters required to execute the policy are configured properly.
Navigating to the Routing Policy
- Access your Fullcast instance and switch plans if applicable.
- Click Manage Policies by Territory on the Policies tile.
- Click New Policy.
Selecting Tags
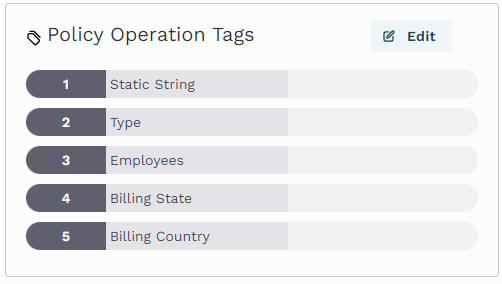
Tags help in identifying which policy to be executed. When the inputVal1 in the process builder in Salesforce matches the tag value in the policy, that policy will be executed.
- On the Policies page, click Add Policy on the appropriate policy.
- Click Edit on the Policy Operation Tags section.
- Add your tags and values as needed.
Note: Alternatively, delete a tag by clicking the delete icon.
- Click Confirm.
Set Queue Operational times
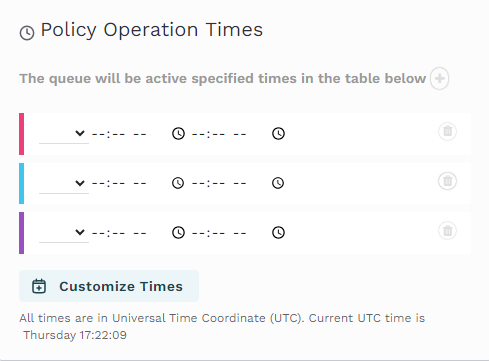
You can set the timings when you want to keep the routing queue active. Customize Queue Operational times according to your choice.
- Fill in the Day(s) of the Week, Start, and End times for when you'd like the policy to be active.
- To add more days, click the gray [+] button in the top right corner.